Coaxial connectors for heavy cables
Make your own coaxial connectors for the heavy low loss cables. Cables supported are 7/8", 1 1/4" and 1 5/8". Drawings for 1/2" cables will not be included as there are so many versions of 1/2" cables with slightly different dimensions. The principles will still work for 1/2" cables.
The connectors work well up to 2320 MHz.
The connectors are made from brass tube and stock material. The Type N connector used is a standard four hole flange panel mounted connector. The connector is turned to the right shape in a lathe in accordance with the drawing.
Drawing for 7/8" cable connector (PDF, 160 kB).
Drawing for 1 1/4" cable connector (PDF, 180 kB).
Drawing for 1 5/8" cable connector (PDF, 180 kB).
How to mount the connector to the cable:
- Cut the cable in a straight angle and clean the the cut from any metal dust.
- Strip of the outer jacket of the cable according to the drawing.
- Clean the outer shield of the cable well. It shall be shining, it will make the soldering much more easy.
- Slide on the outer shield part of the connector on the cable
- Put the end cap of the connector to the Type N connector. Make sure to turn it the correct way. The end that fits into the shield part shall face away from the Type N connector. This step is not applicable to 1/2" cable.
- Put the center pin interface to the center pin of the Type N connector. Solder the joint. Make sure no solder make a bridge to the outer body of the Type N connector.
- Attach the center pin interface to the center conductor of the coaxial cable by turning the interface with the help of a heavy pair of pliers. The threads on the interface will bring it down into the hole of the center conductor tube. Continue until it is all the way to the stop on the center pin interface.
- Slide the outer shield part of the connector outwards until it fits on to the end cap. Make sure all the joints are well together. Solder the joints between the cable shield and the outer shield part of the connector, the outer shield part of the connector to the end cap and the end cap to the Type N connector. You will need a heavy soldering iron, 250 to 300 W!
- Let it cool down.
- Wrap the hole assembly with vulcanizing tape. Make sure to cover all the way up to the cable outer jacket.
- Good luck with your new low loss cable.
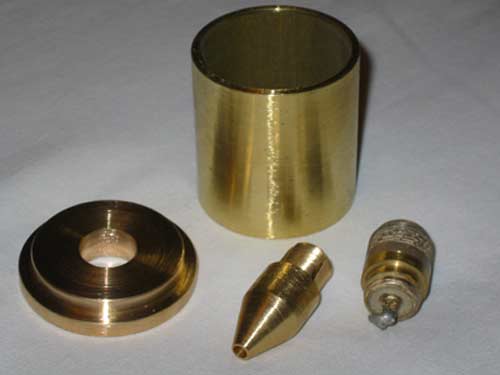
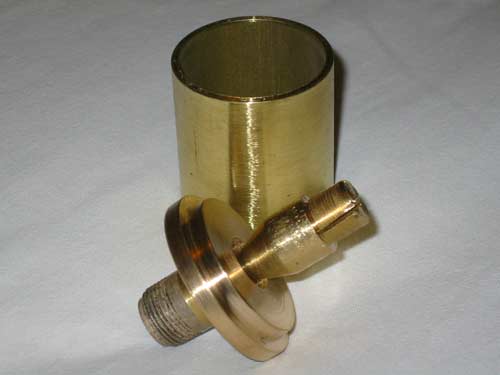
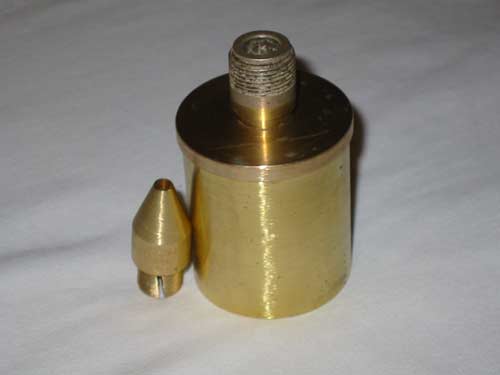
Connector parts Interior parts assembled Exterior parts assembled

Updated July 13, 2006. http://www.2ingandlin.se/SM6FHZ.htm